Технологическая карта выращивания beet в кокосовом субстрате

1. Sowing seeds
Длительность этапа:5 дней
* Preparing trays with substrate. Flat containers or trays with low edges are suitable for forcing. Coconut mats are laid in the trays and well moistened with water or nutrient solution with EC 1.0-1.2 pH 5.5-6.5 and left for a few hours.
* Soaking seeds. Seeds are pre-soaked in clean water to soften the shell for 12-18 hours or for a full day. Afterward, the seeds are rinsed and soaked again for 10-20 minutes in a hydrogen peroxide solution.
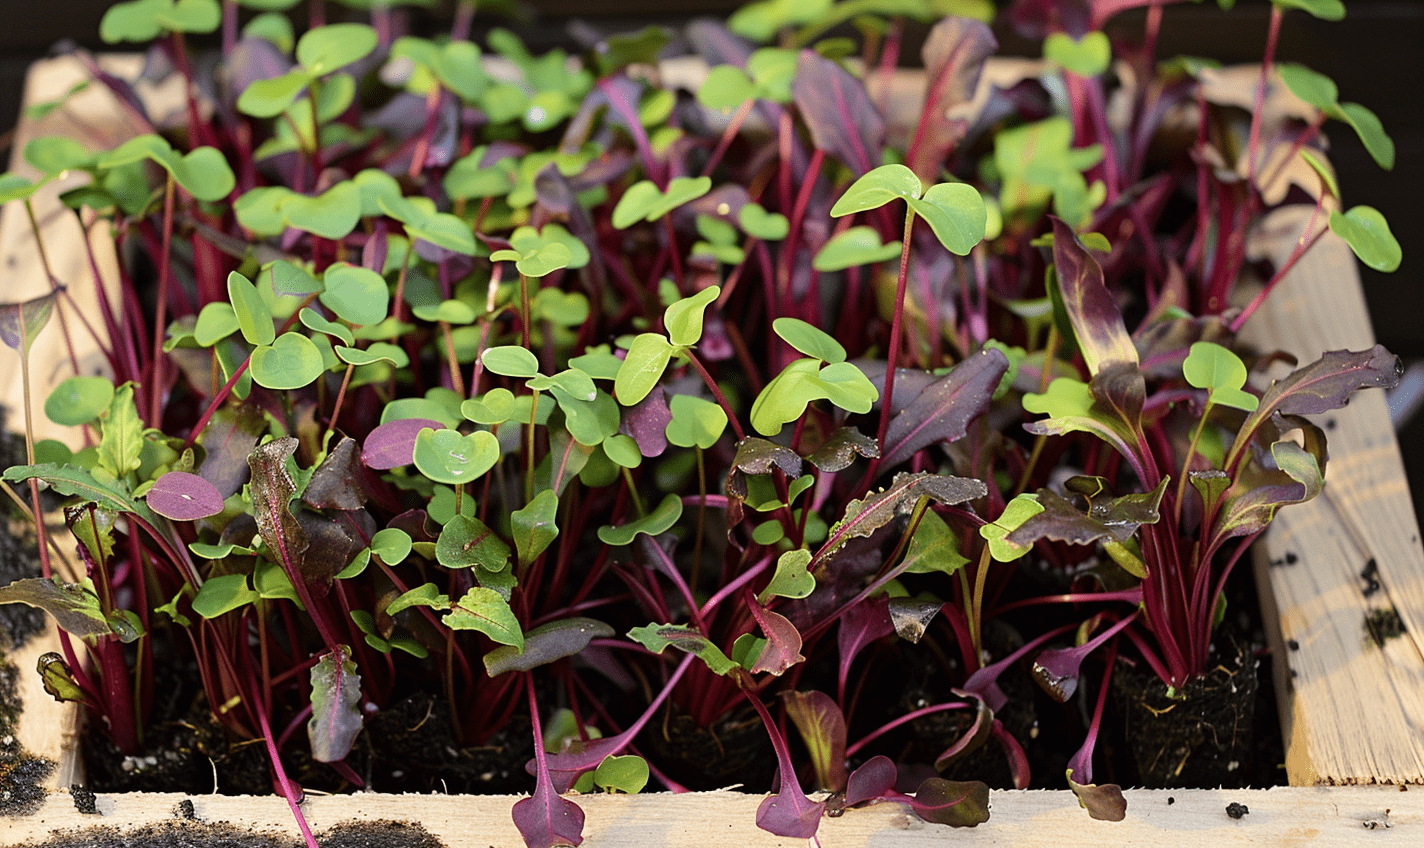
* Sowing. In each tray, seeds are sown in a thin layer. After sowing, the seeds are moistened from a spray bottle, covered with film, and pressed down with the next tray. A weight is placed on top of the trays for better contact of the seeds with the substrate.
Заболевания и вредители
diseases: root rot, gray mold, white mold, powdery mildew
После регистрации система рассчитает средства защиты растений для вас.
Показатели
в приложении Gros.farm.
Это бесплатно.
в приложении Gros.farm.
Это бесплатно.
в приложении Gros.farm.
Это бесплатно.
Перейдите и получите доступ к технологической карте выращивания и очень простой бесплатной ERP-системе для аграриев.
2. Caring for microgreens
Длительность этапа:10 дней
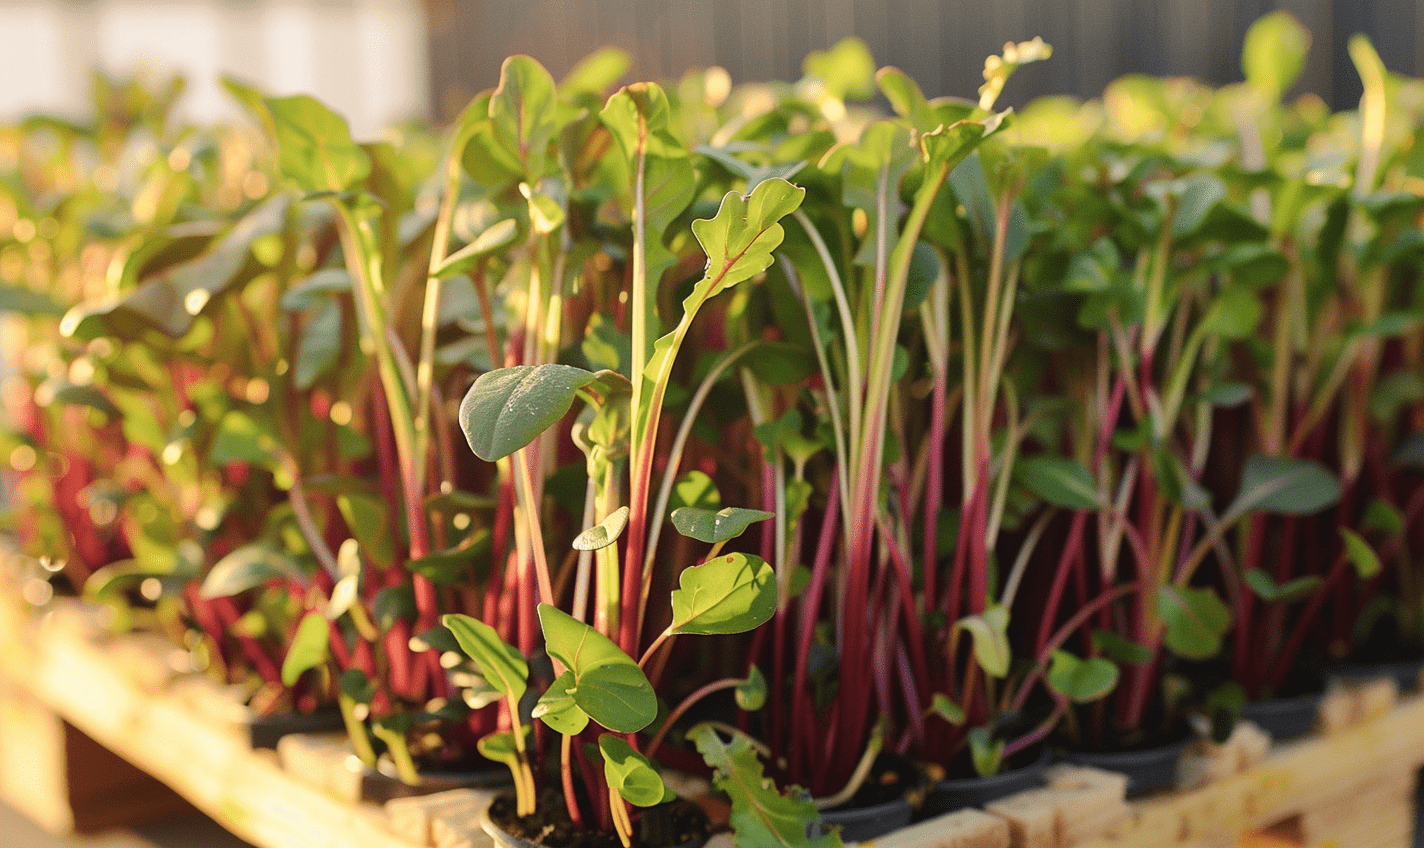
* Lighting. As soon as friendly seedlings appear, the film is removed from the trays, and they are placed under artificial lighting. The lighting intensity is 80-100 W/m².
* Watering. Microgreens are watered as the substrate dries with clean water or nutrient solution.
Заболевания и вредители
diseases: root rot, gray mold, white mold, powdery mildew
После регистрации система рассчитает средства защиты растений для вас.
Состав раствора
Показатели
в приложении Gros.farm.
Это бесплатно.
в приложении Gros.farm.
Это бесплатно.
в приложении Gros.farm.
Это бесплатно.
в приложении Gros.farm.
Это бесплатно.
в приложении Gros.farm.
Это бесплатно.
в приложении Gros.farm.
Это бесплатно.
Перейдите и получите доступ к технологической карте выращивания и очень простой бесплатной ERP-системе для аграриев.
3. Harvesting microgreens
Длительность этапа:1 день
* Cutting. The harvesting of microgreens is carried out when the plants reach a height of 5-7 cm. The harvest is cut with a sharp knife or scissors, taking care not to damage the delicate stems. After cutting, microgreens are washed and dried to remove excess moisture. It is important to adhere to sanitary norms and use clean tools.
Показатели
в приложении Gros.farm.
Это бесплатно.
в приложении Gros.farm.
Это бесплатно.
в приложении Gros.farm.
Это бесплатно.
в приложении Gros.farm.
Это бесплатно.
в приложении Gros.farm.
Это бесплатно.
в приложении Gros.farm.
Это бесплатно.
Перейдите и получите доступ к технологической карте выращивания и очень простой бесплатной ERP-системе для аграриев.
4. Preparation for a new growing cycle
Длительность этапа:1 день
* Cleaning. Removal of residues from the previous substrate, roots, plants, and other organic materials.
* Disinfection. Treating surfaces, watering containers, and working tools with a hydrogen peroxide solution (3%).
5. Storage after harvest
Длительность этапа:7 дней
The optimal temperature for storing microgreens is 4°C, which allows keeping freshness for up to 7 days.
Показатели
в приложении Gros.farm.
Это бесплатно.
в приложении Gros.farm.
Это бесплатно.
Перейдите и получите доступ к технологической карте выращивания и очень простой бесплатной ERP-системе для аграриев.
Бесплатное приложение
для умного земледелия
Полная база техкарт, функции управления, автоматизации и аналитики, подключение экспертов удаленно доступно в приложении.
